Tree Management
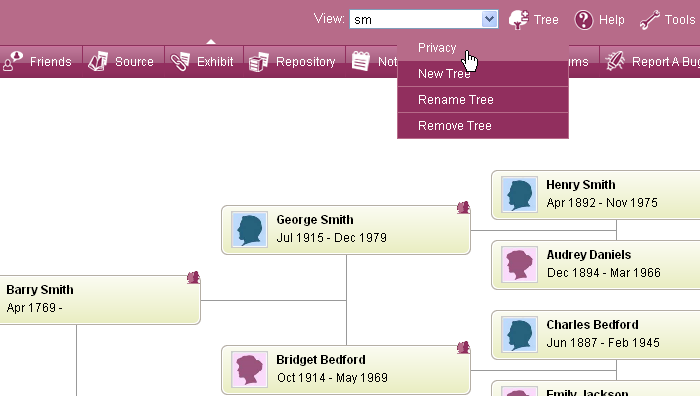
The drop-down box in the top right corner of your screen shows you how many trees you currently have and allows you to switch between them. If you select the tree you wish to view from the list, this will then become the tree visible in your main window.
![]()
The tree on display when you open TreeView, is the last tree that was open when closing TreeView. The 'Tree' tab allows you to delete trees and the people within them by selecting 'Remove Tree'. You can also create new trees and change the name of a tree using the 'New Tree' and 'Rename Tree' options.

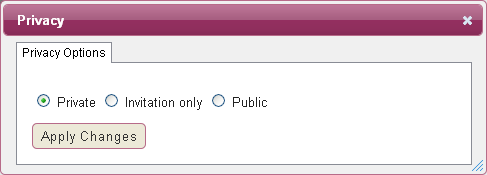
The 'Privacy' link is where you can amend how available your tree is to other users. If you select 'Public', then other users will be able to view your tree freely when a search they carry out shows results in your tree. If you select 'Invitation Only', then other users will have to request permission from you to view your tree. You can monitor requests and invitations in the 'Friends' section. If you set your privacy preference to 'Private', users will not be able to search or view the individuals on your tree.

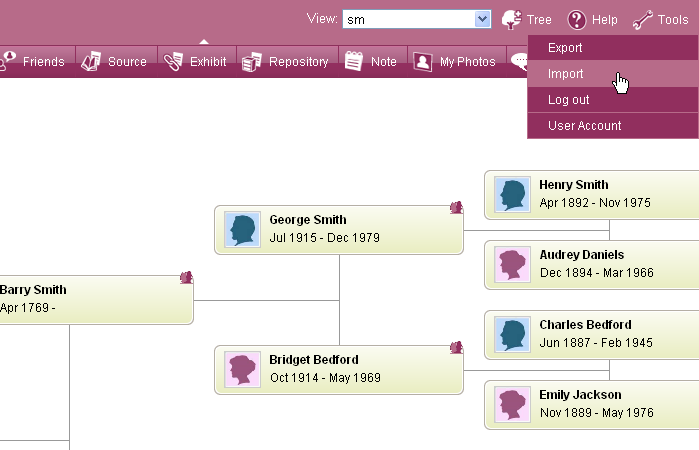
You can save the data on your tree as a GEDCOM file which can be stored on your computer and uploaded into other tree building programs. If you select ‘tools’ from the top right corner and click on ‘Export’ an email will automatically be generated containing your GEDCOM and sent to your registered email. The GEDCOM will arrive as an attachment within the email which you can then save to a folder on your computer.
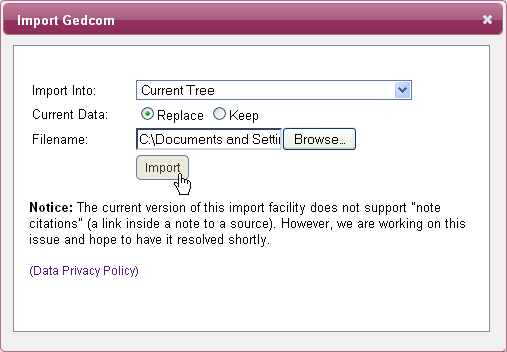
There is also an ‘Import’ option on the ‘Tools’ menu, so you can upload any existing GEDCOMs that you have saved from TreeView or other programs. The GEDCOM can either be uploaded to the existing tree or select ‘New Tree’ to upload the data into a new tree.

